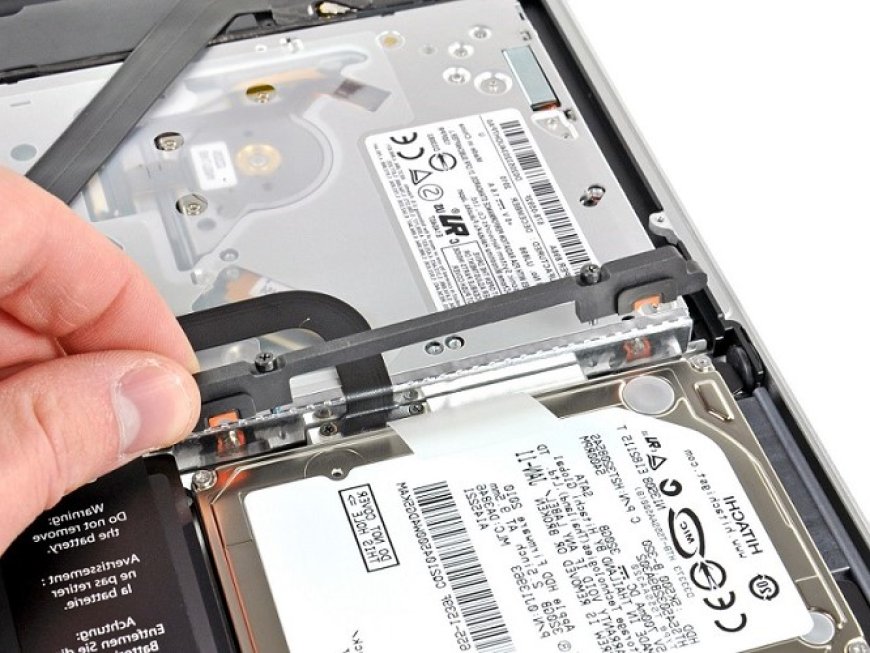
How to install a hard drive in a computer?
nstalling an internal hard drive is one of the simplest computer upgrades, and is often a better option than using external drives that can

Don't be afraid to open the case of your desktop computer. Installing a new hard drive is a basic task anyone can do, and we'll show you how.
Installing an internal hard drive is one of the simplest computer upgrades, and is often a better option than using external drives that can be dropped or lost.
The process usually only requires you to mount the drive, connect a few cables, and format it for use. However, there are a few things you need to know to make the installation as smooth as possible.
Drive cages, bays and mounting options
Internal 3.5-inch hard drives are typically installed in a drive cage or in an accessible drive bay. The location and orientation of cages or recesses vary by chassis. The most common location is on the lower front, near fans and away from other components. Cages / drive bays are most often mounted perpendicular to the bottom of the case, while drives mounted in the cages are typically parallel to the bottom of the case.
In commercially available housings, drive connectors will typically face the rear. Some enthusiast-grade enclosures give users the option to remove the drive cages or mount them in different positions to optimize airflow and simplify cable management.
Installing a hard drive
Physically mounting the hard drive into your computer is perhaps the most difficult part of the installation process.
Typically four screws are required on the sides or bottom of the drive to secure the drive to the cage. Many enclosures - especially enthusiast enclosures - use tool-less trays that hold the drives in place with simple pins and clips.
The use of screws is a more robust mounting method, but the tool-less trays are suitable for systems that will not be moved frequently.
Drives last longer when they are cool and pleasant to the touch. When mounting the drives in the system, try to leave as much space between them as possible to maximize airflow through the top and bottom. Placing the disks directly in front of the fan also helps.
Connect hard drives with SATA
Virtually all new desktop hard drives use the SATA interface (unless you are dealing with servers). SATA uses straight cables that fit over the drive and motherboard connector in one way.
SATA cables shipped with a new drive or motherboard can have a variety of connectors: straight or angled (L-shaped). Some of them may be equipped with metal support clips and some may not. The shape of the connector has no effect on performance.
I like to use SATA cables with rectangular connectors on the drive end, as long as there is adequate space between the drives in the system. Using connectors at right angles on the motherboard side will block the ports as the connector may overlap adjacent ports.
Try to find SATA cables with metal retaining clips as they help to secure the connectors. Most cables that conform to the SATA 3 (6 Gigabit) standard usually come with these clips.
After you finish connecting the SATA cable, connect the drive to the Power Supply Unit (PSU). The SATA power cable from the power adapter, like the SATA data cable, has a spanner that allows a one-sided fit to the drive. As long as it is not forcibly connected, there is no possibility of making a mistake.
Prepare your hard drive for work
After mounting and connecting the drive, turn on the system and go to the BIOS / UEFI. Typically, you can enter BIOS / UEFI by pressing DEL or F2 as soon as the system is turned on. Usually, the system will display a message saying "Press DEL to enter Setup.". Check your motherboard's manual for the correct key.
In the BIOS, go to the standard System Settings menu or the Integrated Peripherals> SATA menu to see all the drives installed on your system. If all drive controllers are turned on and the drive is properly connected (and functional), it should be listed in the BIOS.
If the drive is not listed, shut down the computer. Double-check all connections, boot into the BIOS and check again. If the drive still does not appear, and all connections are secure, try plugging the SATA data cable into a different port on the motherboard.
To be confirmed that Windows recognizes the drive, open Device Manager. In Windows 10, right-click the Windows button on the desktop and select Device Manager. Make sure the disk is listed under Disk Drives.
When starting Windows after installing the drive, the Found New Hardware wizard may appear if the drive has been detected. The last thing you need to do is partition and format your disk.
After that, the drive should be available for use. If you split a disk into multiple partitions, you should see several disks appear in File Explorer, each with its own drive letter and label.
