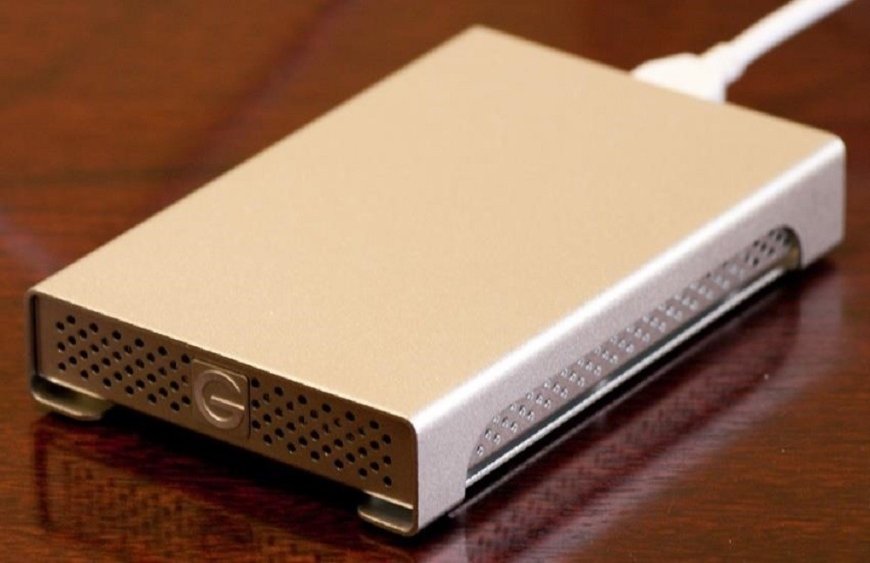
External Hard Drives for Mac
problem for a user who has just landed on macOS and suddenly their hard drive is not compatible with the Mac. External Hard Drives for Mac.
External drives connected to the Mac work differently than they do to a PC. That is, the purpose is still to store files, but to get there they need to be configured in a certain way. This for a Mac user who has been on the platform for several years is obvious, but it can be a problem for a user who has just landed on macOS and suddenly their hard drive is not compatible with the Mac. External Hard Drives for Mac.
Actually, it is, although we must configure it so that it works correctly on Mac. And it all depends on the format of the external disk, since each operating system works with different formats. And macOS doesn't accept all the formats supported by a Windows PC.
What format is better to apply to the external hard drive
There are different formats for the hard drives that we connect to the Mac computer, as well as for the pendrives and other storage units. The main ones and what else you are going to find are the following:
NTFS: It is the format used by Windows computers. When we connect an external hard drive in this format to the Mac, a "Read Only" notice will appear, this means that the Mac cannot modify the files on the external drive since it is in NTFS format. Despite this, you can read the files and copy them to the Mac for example. On a Windows computer it works perfectly to read and write data to it.
FAT32: It is the format that you will see on all USB sticks, as it is a format compatible with Windows, macOS, Linux ... and also players, televisions and any other device that accepts USB connection. The downside is that its use is limited to files of no more than 4 GB, so if you want to copy a file larger than 4 GB in it, you will not be able to do so.
Mac OS Plus: This is the format used by Apple for its Mac computers, it is the equivalent of NTFS. We can also find it under the name HFS + and there are different variants that encrypt files or not: Mac OS Plus (with registry), Mac OS Plus (with registry, encryption), Mac OS Plus (upper / lower, with registry ) or Mac OS Plus (upper / lower, journaled, encrypted).
Must Read: Best gaming mouse in the world 2021
APFS: It is the format implemented by Apple in its latest versions of the operating system, and it is the recommended format for any computer with macOS. This format can also be found in different variants depending on whether or not it encrypts the content: APFS (encrypted), APFS (upper / lower) or APFS (upper / lower, encrypted).
I get the message "Read only", what should I do?
So, if you have a hard drive that you have previously used on Windows computers and now the "Read only" message appears, you have several options:
Leave it as is: In this case, you will be able to view and copy files from it but not modify them, ideal if you use it more on PC computers than on Mac.
Convert to APFS or Mac OS Plus: If you format the hard drive and it becomes an APFS or Mac OS Plus format drive, you will be able to view and add files to it. Instead, you will no longer be able to add files from a Windows PC, or even view them. This option is ideal if you know that you are going to use it with Mac computers and not with Windows computers.
How to format an external drive on Mac
Now that we know the different possible formats and the consequences of using an NTFS disk in macOS, we can choose in which format we are going to use it. Formatting an external disk means losing all the data saved on it, since everything is erased to give it a new format. Therefore, make a copy of the files that interest you before formatting it.
Once you have a copy of the data that interests you, follow these steps:
- Open the Disk Utility app on your Mac.
- Select from the side bar the external disk (this includes the pendrives too) that you are interested in formatting.
- In the drop-down menu of Format choose the option that interests you.
- Give the external disk a name.
- Click Delete and press OK.